 AudioStrada
The window
Transport bar
From left to right:
- Transport: go to start, play / pause (Space; playback stops by itself past the last clip, unless it loops or records), stop, record, and Panic, which silences every note.
- Loop, punch, metronome, REF (listen to a reference track) and the stopwatch of the low latency mode (see Recording).
- The counter: bars.beats.ticks, with the clock time below.
- Tempo and signature: drag or type the tempo, choose the time signature. TAP sets the tempo from your clicks: click on the beat at least twice; after a two-second pause, it starts over. MIDI clips keep their bars and beats when the tempo changes, audio clips their time.
- DSP shows the processing load and any dropout; the meter on the right shows the master's level and short-term loudness.
Effects ring out after a stop: reverb and delay tails fade naturally. Stop again while stopped to silence them.
Top bar
The menus (File, Edit, Clip, Track, Transport, View, Help), the audio device in use and, on the right, the robot button of the AI assistants: grey while they are off, green while they may drive AudioStrada. A click opens their window (see AI assistants).
Panels
- Timeline: the tracks and their clips, the ruler with markers, loop and punch ranges.
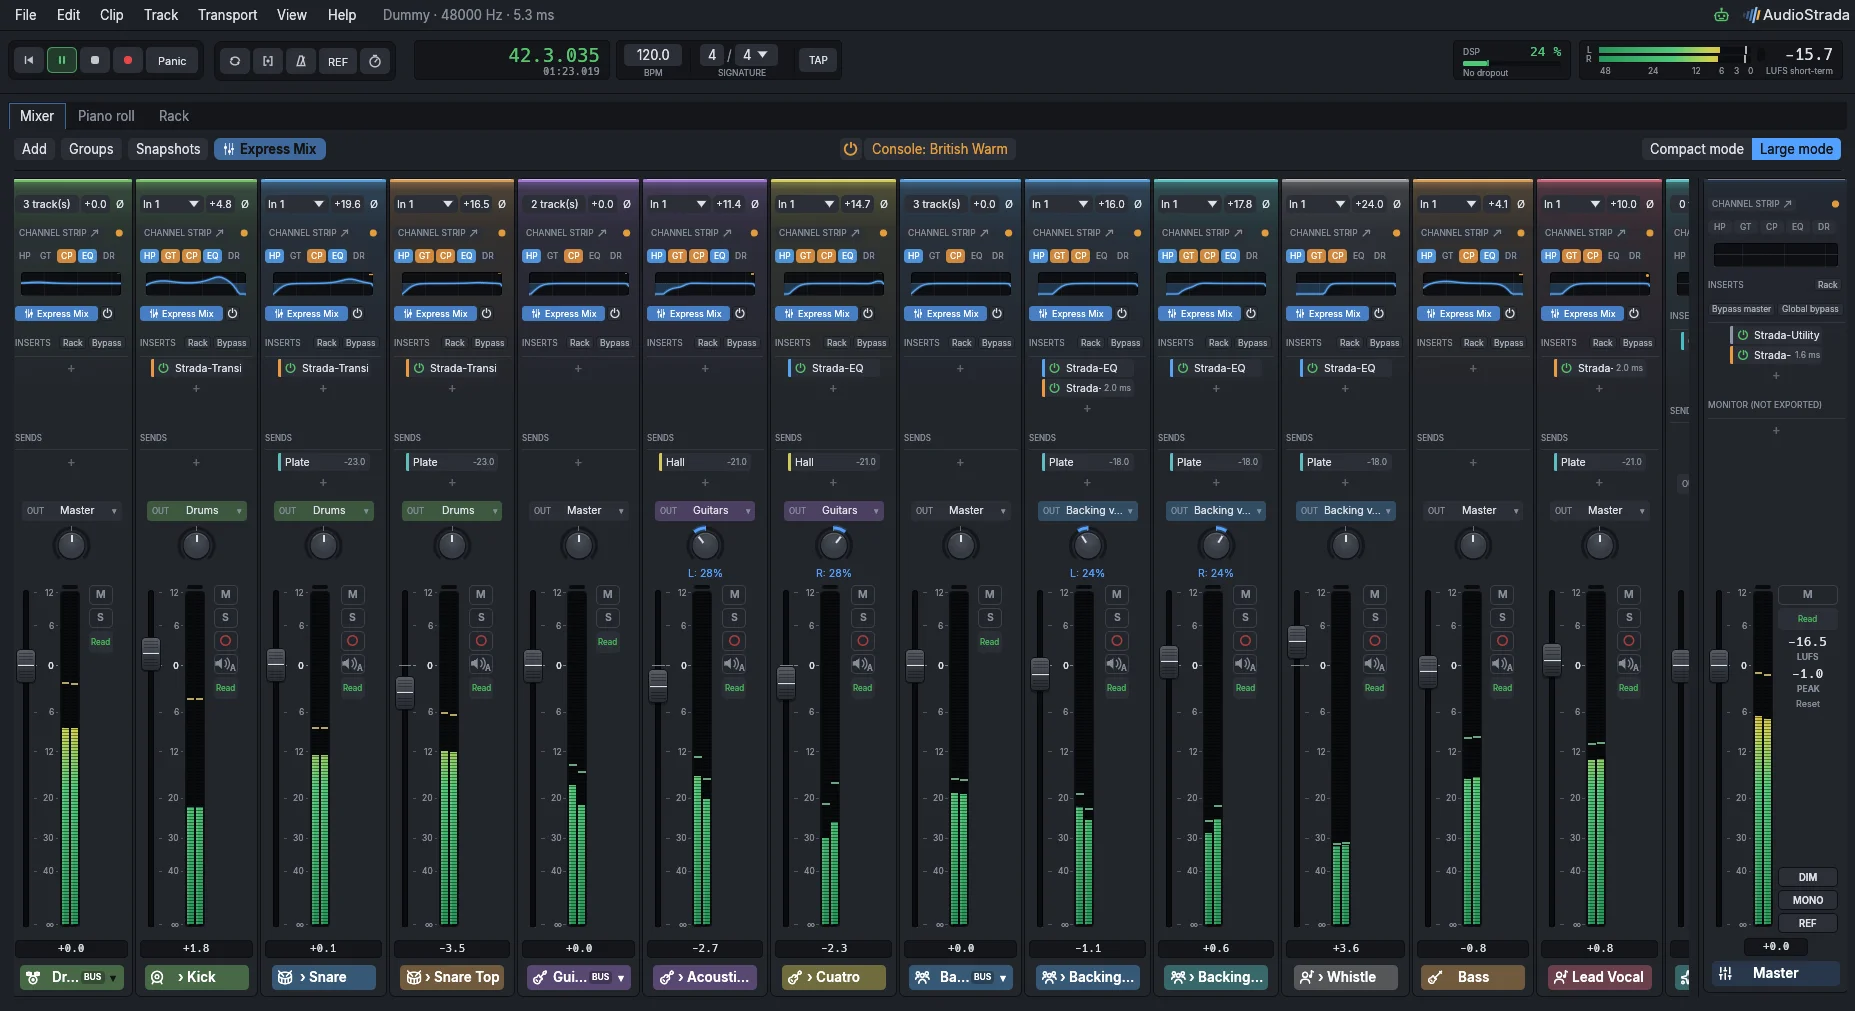
- Mixer, Piano roll and Rack below, in tabs.
- Browser (audio files), Inspector (details of the selected clip or track) and Markers, from the View menu or Alt+3, Alt+4, Alt+5.
- Track strip: the selected track's mixer strip and the master's, in a column beside the timeline as in Logic Pro (View › Show track strip). Drag its edge to widen it.
Drag a tab to rearrange the panels. Right-click a tab › Open in its own window puts a panel on another screen (typically the mixer, Ctrl+M); closing that window docks it back.
View › Layout switches between the arrangements offered at the first start, also in the command palette:
- Classic: the mixer under the timeline, the default.
- Strip at the left: the track strip beside the timeline, the mixer in its tab.
- Uncluttered: the timeline alone.
- Mixer on the second screen: the mixer in its own window, full screen on the other screen (with two screens).
AudioStrada reopens its window, and the panels in their own windows, at the size and in the state they were left. On Wayland, the system decides where windows go.
Project tabs
Several projects can be open at once, each in its tab: File › New project tab (Ctrl+Alt+N) or Open project in a new tab (Ctrl+Alt+O). One project plays at a time; the others wait in the background with their panels as they were. Ctrl+Tab goes to the next tab, Ctrl+W closes the current one.
Command palette
Ctrl+Shift+P opens a search over every command. Type a few letters (they are lit in the names found), choose with the arrows, then Enter. With nothing typed, the commands run last come first, then all of them by category. The palette shows each command's shortcut: it is the quickest way to learn them.
Full screen
F11 (Control+Cmd+F on macOS, View › Full screen) fills the screen the window is on, with the mixer and piano roll windows when they are detached.